


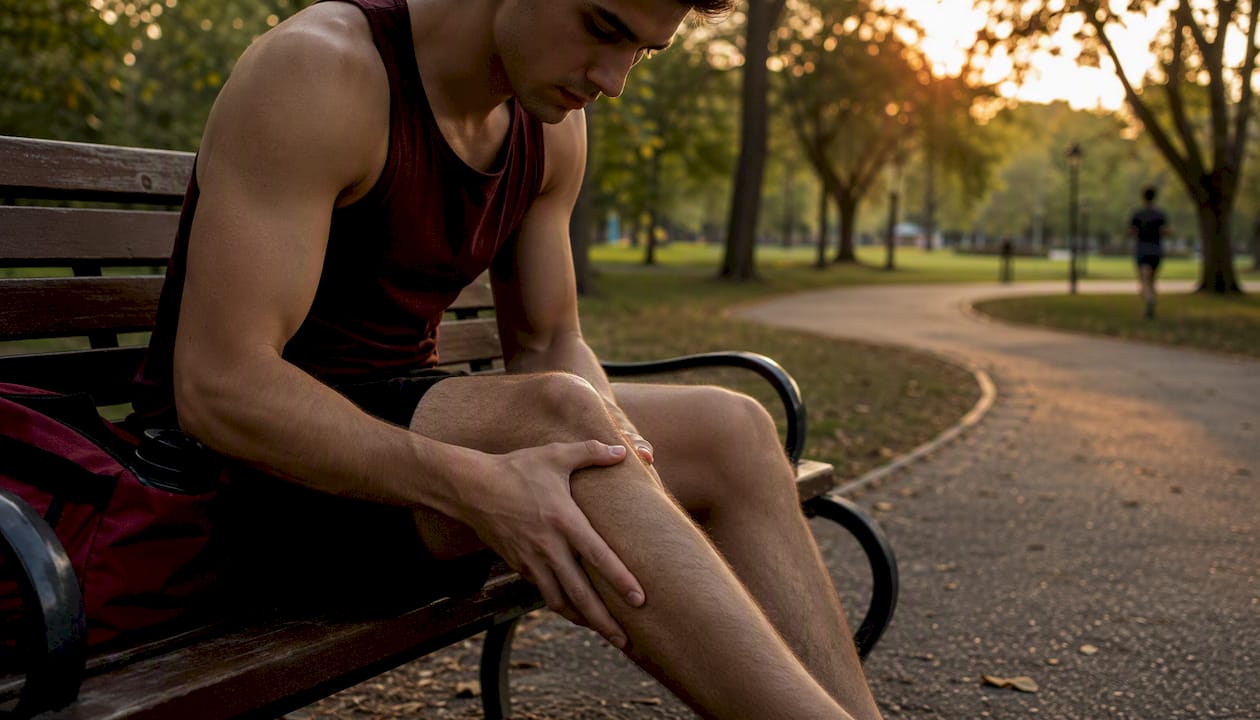
Safe shin splints rehab follows five steps: reduce load immediately, control pain with ice and compression, cross-train to maintain fitness, build targeted strength and mobility, then return to running using the soreness rule. Start today by cutting your running volume in half (or stopping entirely if pain appears during walking), icing the shin for 15–20 minutes two to three times daily, and compressing the lower leg between sessions.
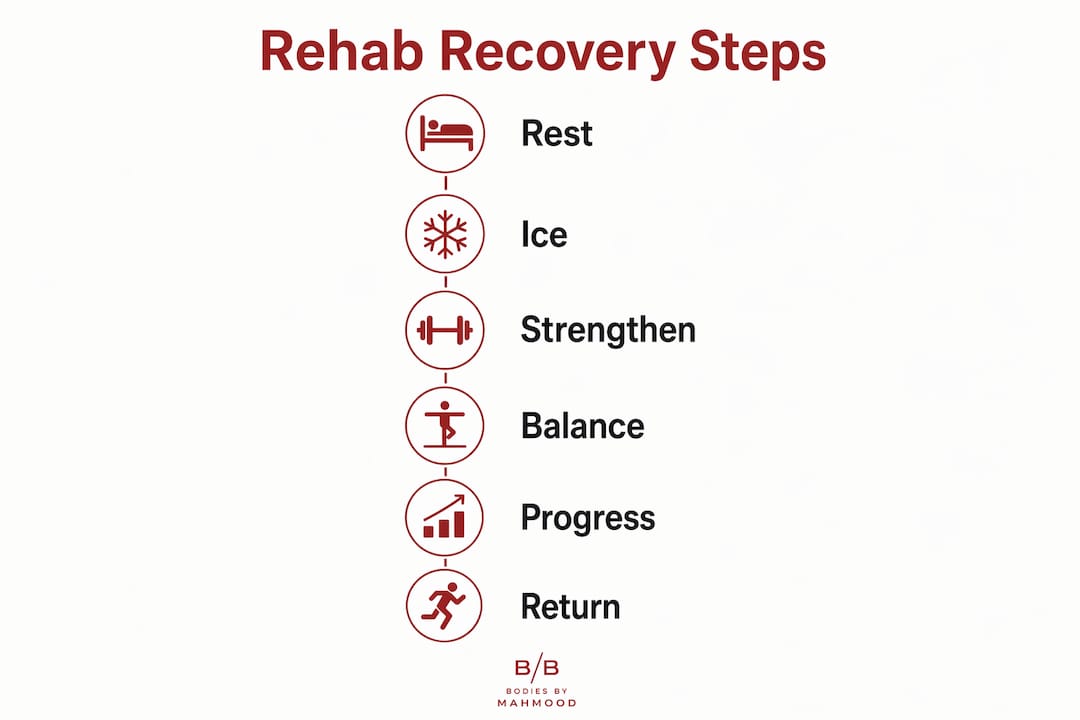
- Reduce load — stop running if pain is present during normal walking; switch to cycling or pool running.
- Control pain — ice 15–20 minutes, two to three times daily; elevate the leg when resting.
- Cross-train — maintain cardiovascular fitness with swimming, cycling, or elliptical while the tibia recovers.
- Strengthen and mobilize — begin tibialis anterior raises, calf eccentrics, and hip/glute work within pain tolerance.
- Return to running — reintroduce running only after a pain-free 30-minute walk, using the soreness rule and the 10% weekly volume rule.
Most people with medial tibial stress syndrome recover in 4–12 weeks when they follow criterion-based progressions rather than arbitrary dates. If pain persists beyond that window, or if you notice focal bone tenderness and night pain, see a clinician promptly.
Table of Contents
- What exactly are shin splints — and when should you worry?
- Why do shin splints happen in the first place?
- The core rehab principles you need to follow
- Your phased exercise program: from acute pain to full running
- Does footwear actually help, and when do orthotics make sense?
- How to prevent shin splints from coming back
- When should you see a clinician?
- Key Takeaways
- The part most rehab guides skip
- Supervised rehab at Bodiesbymahmood in Orlando
- Useful sources and further reading
What exactly are shin splints — and when should you worry?
Medial tibial stress syndrome (MTSS) is an overuse injury caused by repetitive axial loading that creates microtrauma in the lower-leg muscles and irritates the periosteum (the connective tissue covering the tibia). The result is that characteristic aching or burning along the inner shin border that shows up during a run and lingers afterward. Mild swelling is possible, and the area is usually tender when you press along a broad stretch of the tibial border.
Symptoms are typically diffuse, meaning the tenderness spreads over several centimeters rather than concentrating at one sharp spot. That distinction matters for self-triage: a stress fracture tends to produce a small, pinpoint area of pain, often less than 5 cm wide, that hurts even when you are not moving.
Red flags that need urgent imaging or a clinician visit: focal tenderness at a single spot, pain that wakes you at night, pain at rest, or inability to complete a single-leg hop without sharp pain. Any of those signs means stop running and get evaluated.
Why do shin splints happen in the first place?
The short answer is too much load, too fast, on a body that is not yet prepared for it. But the mechanics run deeper than that.
Primary mechanisms:
- Repetitive axial loading compresses and bends the tibia with every footstrike, and when that stress accumulates faster than bone and soft tissue can remodel, periosteal irritation develops.
- Muscle overuse in the anterior compartment (tibialis anterior), soleus, and tibialis posterior creates traction forces on the tibial border, amplifying the stress reaction.
- Periosteal irritation from those traction forces is what produces the pain and tenderness you feel.
Training-related risk factors:
- Sudden jumps in weekly mileage or intensity, particularly adding more than 10% in a single week
- Running on hard, unforgiving surfaces like concrete or asphalt without adequate cushioning
- Excessive hill work before the lower leg is conditioned for the added eccentric demand
- Inadequate recovery between hard sessions, leaving the tibia no time to remodel
Biomechanical and individual factors:
- Overpronation increases the rotational stress on the tibia with each stride; a runner who rolls inward excessively will load the medial border more than a runner with a neutral gait.
- Weak hips and glutes force the lower leg to absorb forces the proximal chain should be sharing; this is one reason addressing the kinetic chain is central to lasting recovery.
- Calf weakness, particularly in the soleus, reduces the muscle’s ability to attenuate ground reaction forces.
- Poor ankle mobility alters foot mechanics at contact and can increase tibial torsion.
- Leg-length discrepancy shifts load asymmetrically, often overloading the longer limb.
A practical example: a recreational runner who logs 20 miles per week and then jumps to 30 miles the following week to prepare for a race has exceeded a safe progression threshold. That single decision is one of the most common triggers seen in clinical practice.
The core rehab principles you need to follow
The soreness rule and graded loading are the two principles that govern every decision in this program. Get those right, and the exercises almost take care of themselves.
The soreness rule works like this: if pain appears during normal daily activities (walking to your car, climbing stairs), reduce intensity or stop entirely. If daily activities are pain-free, you may begin graded loading while watching for next-day symptoms. A flare the morning after a session is a clear signal to step back one level. Yale Medicine’s clinical guidance frames this as the primary safety check throughout rehab.
Pain control in the acute phase centers on relative rest, not complete inactivity. Ice for 15–20 minutes, two to three times daily, reduces local inflammation. Compression sleeves or wraps during activity and elevation at rest help manage swelling. Short-term NSAIDs (ibuprofen, naproxen) can reduce pain and inflammation, but consult your clinician before using them for more than a few days, particularly if you have any gastrointestinal or kidney concerns.
Pro Tip: Kinesiology tape applied along the tibial border can reduce pain and improve proprioception in the short term. It is not a fix on its own, but it can make the early weeks of rehab more comfortable while you address the underlying load and strength deficits.
Cross-training is not a consolation prize. Swimming, cycling, deep-water running, and elliptical work all preserve cardiovascular fitness while dropping tibial load to near zero. Complete inactivity can actually slow healing by reducing blood flow to the periosteum, so structured cross-training is the preferred approach unless pain is severe enough to make even low-impact movement uncomfortable. An AlterG anti-gravity treadmill, if accessible, is another option that allows running mechanics at reduced body weight.
Your phased exercise program: from acute pain to full running
A three-to-four phase program reliably restores function when you advance by pain-based criteria rather than the calendar. The Sanford Health rehabilitation guideline outlines phase targets, progression criteria, and typical phase lengths that form the backbone of this program.
Phase 1: Acute (weeks 1–2)
Goal: eliminate pain during daily activities and restore basic ankle and hip mobility.
- Tibialis anterior raises — seated, foot flat, lift toes toward shin. 3 sets of 15–20 reps, slow and controlled.
- Ankle circles and dorsiflexion stretches — 2 sets of 10 each direction, twice daily.
- Calf stretch (gastrocnemius and soleus) — hold 30–45 seconds each, three times per session.
- Isometric calf holds — standing on both feet, rise to toes and hold for 5–10 seconds. 3 sets of 10. Isometric loading is well tolerated in the early phase because it produces minimal tibial bending stress.
- Hip abductor clams — side-lying, feet together, open the top knee like a clamshell. 3 sets of 15 per side.
Phase 2: Intermediate (weeks 2–5)
Goal: progressive lower-leg and hip strength, single-leg control.
- Single-leg heel raises (eccentric emphasis) — rise on two feet, lower slowly on one. 3 sets of 12–15 per side. This is the single most important exercise in the program.
- Soleus lunge calf raise — in a lunge position with the back knee slightly bent, raise the heel of the back foot. 3 sets of 12 per side.
- Tibialis anterior resistance band raises — loop a band around the forefoot, dorsiflex against resistance. 3 sets of 15.
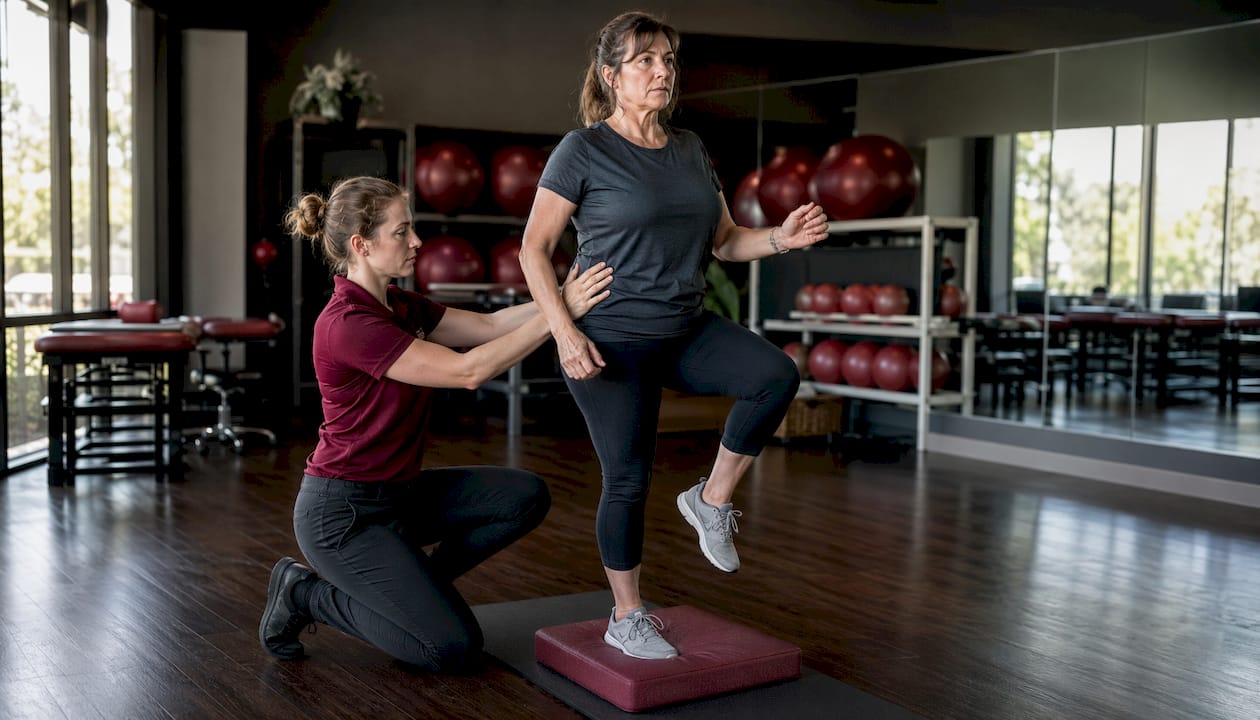
- Single-leg balance — 3 sets of 30–45 seconds per side; progress to eyes closed or unstable surface.
- Glute bridges and single-leg glute bridges — 3 sets of 12–15 per side.
- Lateral band walks — 3 sets of 15 steps each direction.
Phase 3: Advanced strength and plyometrics (weeks 5–8)
Goal: prepare the tibia and soft tissue for running impact.
- Double-leg calf jumps — small, controlled hops on both feet. 3 sets of 20.
- Single-leg hops in place — begin only when double-leg hops are pain-free. 3 sets of 10 per side.
- Step-downs — stand on a step, lower the opposite heel slowly toward the floor. 3 sets of 10 per side.
- Romanian deadlifts (single-leg) — 3 sets of 10 per side with light load.
Readiness criteria before returning to running
| Criterion | Target |
|---|---|
| Pain-free 30-minute walk | No pain during or after |
| Single-leg hop (10 consecutive) | No pain on either side |
| Single-leg heel raises | 25 or more without pain |
| Daily activities | Fully pain-free for at least 3 days |
| Cross-training | Completing sessions without next-day soreness |
Once all five criteria are met, begin the return-to-running schedule below.
Return-to-running schedule
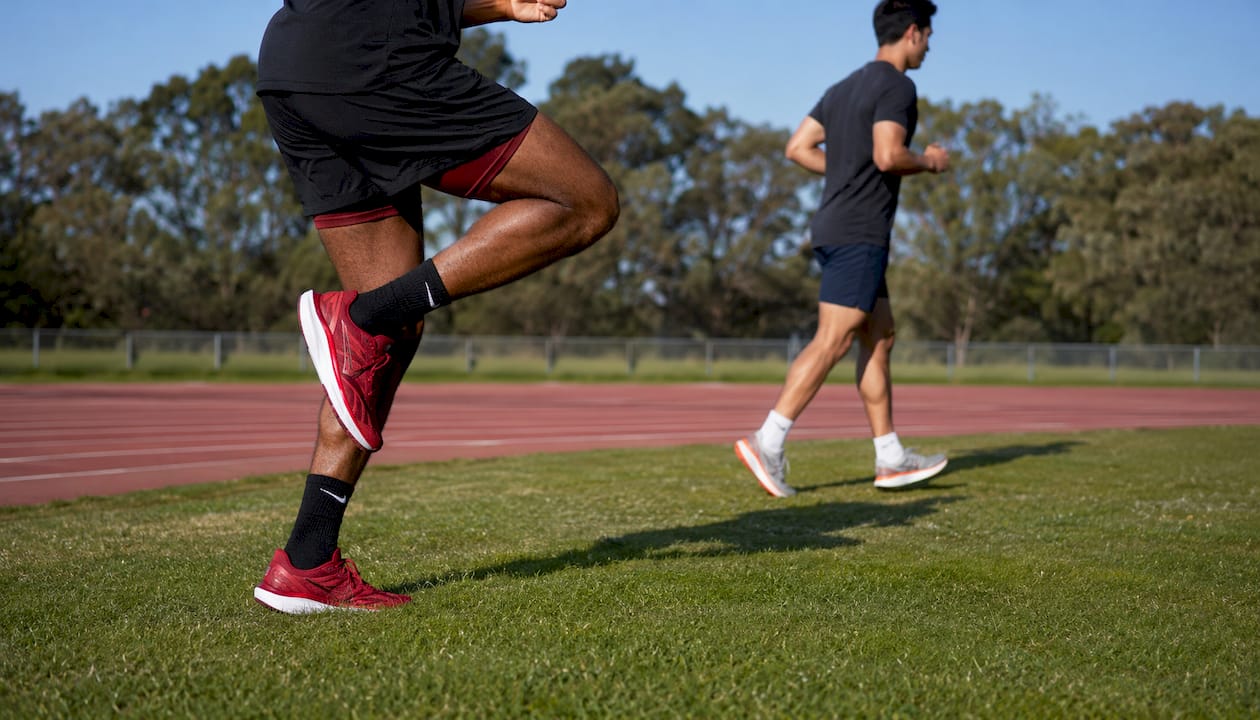
- Week 1 — Run/walk intervals: 1 minute running, 2 minutes walking, repeated 6–8 times. Three sessions per week.
- Week 2 — 2 minutes running, 1 minute walking, 6–8 repetitions. Three sessions.
- Week 3 — 10–15 minutes continuous easy running. Three sessions.
- Week 4 — 20 minutes continuous. Apply the 10% weekly volume rule from here forward.
- Week 5 onward — increase total weekly distance by no more than 10% per week. Reintroduce speed only after distance is established.
If pain returns during any session: stop immediately, return to the previous phase, and stay there for at least 5 additional pain-free days before attempting to progress again. Never push through shin pain during running.
Does footwear actually help, and when do orthotics make sense?
Footwear and orthotics can reduce symptoms, but they are an adjunct to load management and strength work, not a replacement for either. Buying new shoes will not fix shin splints if you are still training at the volume that caused them.
What to look for in a running shoe
A shoe with adequate cushioning, a moderate heel-to-toe drop (8–12 mm works for most runners with MTSS), and a reasonably stiff midsole reduces peak tibial stress at footstrike. Before spending money on a new pair, try a small test: run your usual easy route in your current shoes and note where discomfort begins. Then try a short section (5–10 minutes) in a different pair. If symptoms shift noticeably, the shoe is likely contributing.
Gait adjustments you can trial yourself
Three changes tend to reduce tibial loading without requiring a formal gait lab:
- Increase cadence by 5–10% — shorter, quicker steps reduce the impact transient at footstrike. Count your steps for 30 seconds and multiply by four; most recreational runners land around 160–170 steps per minute, and nudging that toward 175–180 helps.
- Shorten stride length — overstriding (landing with the foot well ahead of the center of mass) amplifies braking forces through the tibia.
- Slight forward trunk lean — shifts load toward the midfoot and reduces heel-strike impact.
Monitor how these changes feel over two to three sessions before committing to them. A change that reduces shin discomfort but creates knee or hip pain is not a net win.
Orthotics: prefab vs. custom
Prefabricated arch-support orthotics can reduce pain and accelerate recovery in some populations, particularly those with notable overpronation. They are worth trialing before investing in custom devices. If a prefab insert (Superfeet, Powerstep, or a similar over-the-counter option) provides meaningful relief within two to three weeks, it is doing its job. If not, a podiatrist or physical therapist can assess whether a custom device is warranted. Formal gait analysis is also worth pursuing if you have had multiple recurrences despite addressing training load and strength.
How to prevent shin splints from coming back
Consistent strength maintenance and conservative weekly progressions prevent most recurrences. The runners who relapse are almost always the ones who drop their strength work the moment they feel good.
Weekly maintenance plan:
- Two lower-leg and hip strength sessions — single-leg heel raises, tibialis anterior raises, glute bridges, and lateral band work. These take 20–25 minutes and protect the tibial periosteum by keeping the surrounding musculature strong.
- One dedicated mobility session — calf stretching, ankle mobility drills, and hip flexor work. Flexibility and injury prevention go hand in hand for runners who want to stay healthy across a full training cycle.
- Monitored running schedule — apply the 10% rule every week without exception, even when you feel great. The weeks you feel best are often the weeks you are most tempted to overshoot.
Training rules that reduce recurrence risk:
- Never increase weekly mileage and intensity in the same week.
- Build a base of easy running before adding tempo, intervals, or hills.
- Rotate between surfaces (grass, track, trail) to vary the stress pattern on the tibia.
- Replace running shoes every 300–500 miles; worn midsoles lose their ability to attenuate impact.
Early warning monitoring checklist:
- Increasing morning soreness or stiffness in the shin that takes more than 10 minutes to resolve
- Needing to ice after every run when you previously did not
- A noticeable change in your gait (limping, favoring one side, altered step-off)
- Pain that begins earlier in a run than it did the previous week
Any two of those signs together means pull back immediately and reassess load. Catching a flare at this stage takes days to manage; ignoring it can set you back months. For runners who want a structured approach to injury prevention habits, building these monitoring habits into your weekly routine is one of the highest-return practices available.
When should you see a clinician?
See a clinician if pain persists despite two to three weeks of conservative care, if pain occurs at rest, or if there is focal tibial tenderness suggesting a stress fracture. Do not wait.
| Red Flag | Urgency | Likely Clinician Action |
|---|---|---|
| Focal tenderness less than 5 cm | Urgent | X-ray or MRI to rule out stress fracture |
| Night pain or pain at rest | Urgent | Imaging; possible immobilization |
| Inability to walk 30 minutes pain-free | Soon (within 1 week) | Full exam, load modification, PT referral |
| Single-leg hop produces sharp pain | Soon | Fulcrum test, consider bone scan |
| No improvement after 3 weeks of rest | Routine | PT assessment, gait analysis, orthotics trial |
| Pain worsening despite reduced load | Urgent | Rule out compartment syndrome or fracture |
A sports medicine physician or physical therapist will typically perform a focused physical exam, including a fulcrum test (pressing along the tibial shaft to identify stress fracture) and a single-leg hop test. If a stress fracture is suspected, MRI is the gold standard for early detection; plain X-rays often miss early bone stress reactions. Depending on findings, management may include a brief period of immobilization, a walking boot, or referral to a PT for a supervised progressive program.
What to bring to your appointment: your training log for the past 4–6 weeks, your current running shoes, notes on any recent race or training changes, and any prior imaging or clinical notes. A clinician who can see your volume progression and footwear wear pattern will reach a diagnosis faster.
This article is general information, not medical advice. Confirm your specific situation with a qualified clinician or physical therapist before making treatment decisions.
Key Takeaways
Effective shin splints rehab requires load reduction, targeted strength work, and criterion-based return-to-running, not just rest and time.
| Point | Details |
|---|---|
| Start with load reduction | Stop running if pain appears during walking; switch to cycling, swimming, or elliptical immediately. |
| Use the soreness rule | Progress only when daily activities are pain-free; step back one level if next-day soreness increases. |
| Prioritize the kinetic chain | Single-leg heel raises, glute bridges, and hip work protect the tibia by sharing the load across the whole leg. |
| Follow the 10% rule | Increase weekly running volume by no more than 10% per week, and only after pain-free baseline walking is established. |
| Bodiesbymahmood for supervised rehab | In-person assessment and individualized programming at Bodiesbymahmood in Orlando speeds recovery and reduces recurrence risk. |
The part most rehab guides skip
The most common pattern in clinical practice is not someone who ignored their shin pain entirely. It is someone who rested for two weeks, felt better, and went straight back to the mileage that caused the problem. Pain disappears before the tissue is actually ready. That gap between “feels fine” and “is fine” is where most recurrences happen.
The second thing that gets overlooked is the hip and glute work. Runners fixate on the shin because that is where it hurts, but the lower leg is often just the victim. Weak hips and glutes force the tibia to absorb forces it was never designed to handle alone. A runner who skips the lateral band walks and single-leg glute bridges and only does calf raises is addressing the symptom, not the system.
Criterion-based progression solves both problems. When your return to running is gated by what your body can actually do (pain-free 30-minute walk, 25 single-leg heel raises, single-leg hop without flinching) rather than by how many days have passed, you are far less likely to go back too soon. A mobility restoration checklist built into your weekly routine makes these criteria easy to track without overthinking it.
One realistic expectation: most runners who follow this program consistently are back to full training after a period of recovery that commonly spans several weeks, although times vary depending on individual factors. Some get there faster. A few take longer, particularly if they had a high-grade bone stress reaction or kept running through pain for weeks before starting rehab. The timeline is not the goal. The criteria are.
Supervised rehab at Bodiesbymahmood in Orlando
Shin splints that keep coming back usually have a root cause that is hard to identify on your own, whether that is a gait pattern, a strength asymmetry, or a training habit that looks fine on paper but creates cumulative overload. An in-person assessment cuts through the guesswork and builds a plan around what your body actually needs.

At Bodiesbymahmood in Orlando, a sports rehab assessment covers a full movement screen, footwear review, lower-leg and hip strength testing, and a training load analysis. You leave with a specific, phased program, not a generic handout. Sessions run 30–60 minutes, and the progression is supervised so you are never guessing whether you are ready to move forward. With over 25 years of experience working with athletes from youth to professional level, the team at Bodiesbymahmood has seen every variation of this injury and knows what actually moves the needle. Check out the full range of sports and fitness services to find the right fit, or book a personal training assessment directly to get started.
Useful sources and further reading
- Medial Tibial Stress Syndrome — StatPearls, NCBI Bookshelf — The primary clinical reference for MTSS definition, natural history, cross-training guidance, and the 10% progression rule. A reliable starting point for clinicians and informed patients alike.
- Shin Splints — Yale Medicine — Clear, clinician-authored overview of the soreness rule, biomechanical contributors, and when to seek care. Well suited for patients who want a trustworthy second read.
- MTSS Rehabilitation Guideline — Sanford Health — Criterion-based phase guideline with specific milestones (pain-free walk, single-leg hop, heel-raise targets) used by physical therapists. The most practical clinical protocol available publicly.
- KT Tape for Shin Splints — Runner’s World — Step-by-step application guide for kinesiology tape with context on short-term benefits and limitations. Useful for runners who want a practical how-to during the early rehab phase.
- PubMed: MTSS systematic review — Peer-reviewed research on MTSS prevalence, risk factors, and treatment outcomes. Appropriate for clinicians or readers who want the evidence base behind the rehab recommendations.
- PubMed: Gait retraining and tibial stress — Research examining how cadence and stride modifications affect tibial loading, supporting the gait retraining recommendations in this article.
- PubMed: Orthotic interventions for MTSS — Examines the evidence for prefabricated and custom orthotics in MTSS management, useful context for the footwear and orthotics section.