


You can safely start a return to run program once you can walk 30 minutes pain-free, have no significant swelling, and move with a normal gait. Before your first run–walk session, confirm these nonnegotiables:
- Walk 20–30 minutes on flat ground with no pain or limp
- Stand on the injured leg for 10 seconds without wobbling
- Complete low-impact cardio (elliptical or stair-stepper) for 20 minutes pain-free
- No sharp pain with single-leg calf raises (10 reps each side)
- No new swelling in the 24 hours after any of the above
Once those boxes are checked, start a leveled run–walk progression two to three times per week and pair every session with a targeted strength program.
Key Takeaways
A safe return to running requires passing objective readiness tests first, then following a leveled run–walk progression paired with consistent strength work and careful soreness monitoring.
| Point | Details |
|---|---|
| Readiness before running | Walk 30 minutes pain-free and pass single-leg hop and balance tests before starting any run intervals. |
| Phased run–walk progression | Follow a 9-level framework (1-min run up to 30-min continuous), running every other day and repeating each level until pain-free. |
| Strength work is required | Pair every run week with calf, glute, and single-leg strength drills; tendon and bone adapt slower than muscle. |
| Soreness rules drive decisions | Use next-day and warm-up soreness patterns, not calendar days, to decide whether to advance, hold, or rest. |
| Bodiesbymahmood supervised pathway | Bodiesbymahmood in Orlando provides individualized assessment, leveled run–walk progressions, and in-person load monitoring for a structured return to running. |
Table of Contents
- Are you ready to start a return to run program?
- A phased run–walk progression that actually works
- Strength and mobility work you must pair with running
- How to monitor progress and apply soreness rules
- When to stop and see a clinician
- How Bodiesbymahmood runs a supervised return-to-run pathway
- What your footwear and orthotics should do during recovery
- Returning to running is a skill, not just a fitness goal
- Bodiesbymahmood offers supervised return-to-run support in Orlando
- Sources
Are you ready to start a return to run program?
Most people skip the readiness check and pay for it later. Three objective tests tell you more than a calendar date ever will.
Pain-free walking baseline. The OSU Wexner Medical Center return-to-running guideline sets a 30-minute pain-free walk as the minimum threshold before any running begins. If you limp, compensate, or feel sharp pain at any point, you are not ready.
Single-leg balance and hop symmetry. Stand on the injured leg with eyes closed for 10 seconds. Then perform five single-leg hops forward and stick each landing. Compare height, distance, and confidence side to side. Clinicians at Evolve Physio use hop symmetry and pain-free figure-8 runs as sport-specific gates before clearing athletes for running progressions.
Low-impact cardio tolerance. Twenty minutes on an elliptical or stair-stepper without pain or swelling is a practical proxy for running readiness. It loads the joint without impact, so a pain response here signals tissue that still needs time.
Statistic to know: OSU’s protocol uses 200–250 foot contacts (roughly 1/3 mile of running) as a hopping contact benchmark. Tolerating that volume without pain or swelling is the objective green light for beginning run intervals.
When to get clinician clearance first. See a physical therapist or physician before starting if you had surgery, experienced a complete ligament tear, notice persistent instability, or have any neurologic symptoms (numbness, tingling). Evolve Physio’s 6-week ankle sprain protocol notes Grade III sprains typically require 6–12+ weeks of graded reloading before running, not days.
A phased run–walk progression that actually works
The structure below follows the leveled framework used by clinical programs at Mass General and Runner’s World’s 9-step Omega Project plan, which builds from short run intervals to 30 minutes of continuous running.
Frequency and phase rules. Run no more than every other day in the early levels. The Allina Health return-to-run protocol recommends repeating a phase two to three times before advancing, and never progressing through sharp pain. Start on flat ground or a treadmill before moving to outdoor terrain.
Progression rules in plain terms:
- Advance one level per session only when the previous level was pain-free
- Limit progression to no more than two levels per week
- If sharp pain appears mid-session, stop and drop back one level at the next session
- Apply the 24-hour soreness rule (detailed in the monitoring section below) before deciding to advance
Strength and mobility work you must pair with running
Running is not the rehab. That distinction matters more than most injured runners realize. Clinical reviews on tendon loading confirm that tendon and bone remodel significantly slower than muscle, so progressive resistance training must run alongside, not after, your return-to-run protocol.
The Texas Children’s Hospital return-to-run program emphasizes concurrent resistance training and functional testing as non-negotiable components. Here is what to include:
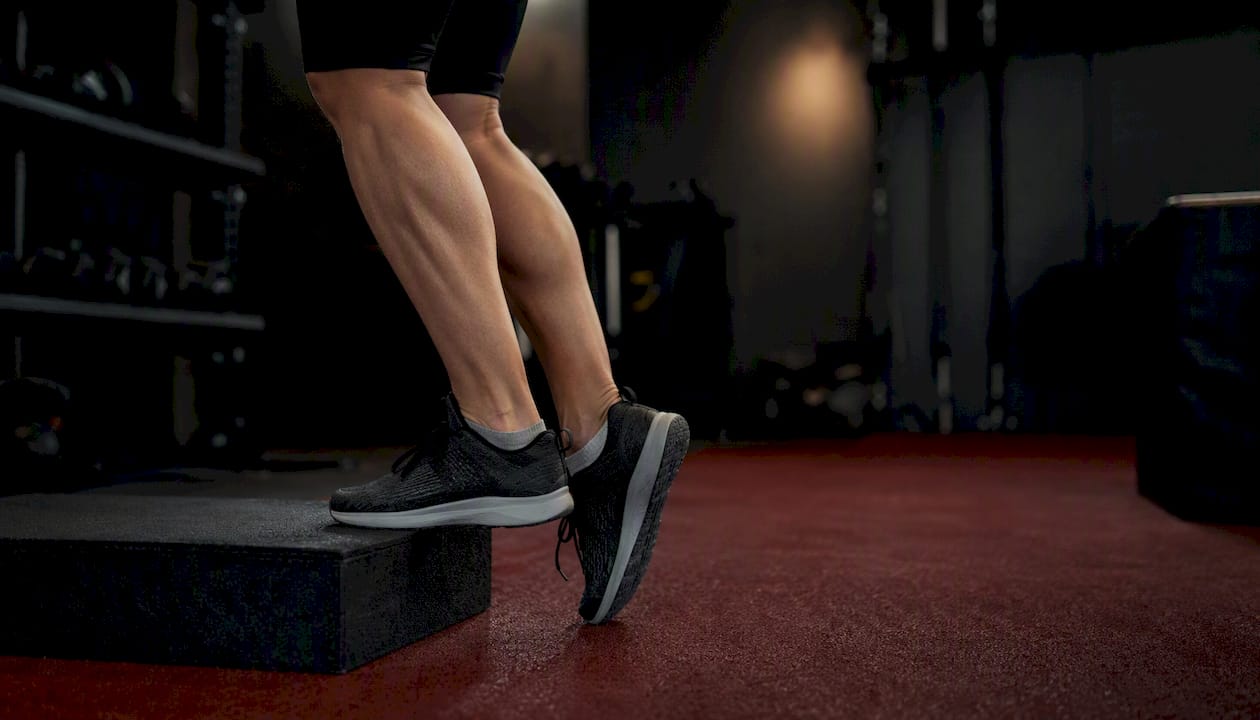
Calf and Achilles loading. Double-leg calf raises (3 sets of 15) in weeks one and two, progressing to single-leg calf raises (3 sets of 12) by week three. Slow the lowering phase to three seconds to add eccentric load.
Glute and hip work. Glute bridges, single-leg Romanian deadlifts, and lateral band walks each address the hip weakness that often precedes running injuries. Aim for 3 sets of 10–12 reps, two to three times per week.
Single-leg strength drills. Step-downs, split squats, and single-leg press build the quad and glute strength needed to absorb landing forces. These also double as sport performance tests for symmetry.
Scheduling. Strength sessions can run on the same day as run sessions, but place the run first when both are scheduled together. Fatigue from strength work before running increases compensatory movement patterns. For a structured approach to balance, strength, and flexibility, a dedicated program helps fill the gaps between run days.
Pro Tip: Start eccentric calf loading (heel drops off a step) at a pain-free range only. If the full range causes sharp pain, shorten the range of motion and build from there rather than skipping the exercise entirely.
A solid mobility restoration checklist pairs well with this strength work, particularly for ankle dorsiflexion and hip mobility that running alone will not restore.
How to monitor progress and apply soreness rules
The Runner’s World 9-step plan lays out practical soreness rules that tie progression to symptoms rather than calendar days. Apply them after every session:
Warm-up soreness behavior:
- Soreness present at warm-up that disappears within 10 minutes: continue the session, stay at the same level
- Soreness present at warm-up that persists past 10 minutes: stop, take two days off, drop back one level
- No soreness at warm-up: proceed normally
Next-day soreness:
- Mild next-day soreness that resolves within 24 hours: stay at the same level for one more session
- Soreness still present 48 hours after a session: take a rest day, repeat the previous level
Red flags that require an immediate stop:
- Sharp, localized pain during running (not general fatigue)
- New or increasing swelling after a session
- Limping or gait changes that persist after the session ends
- Neurologic symptoms: numbness, tingling, or weakness
Simple symptom log. Track these fields after each session: date and level completed, pain during (0–10 scale), pain 24 hours after, swelling (none/mild/moderate), gait changes noted, and confidence rating. A two-week log gives a clinician everything needed to adjust your program quickly.
When to stop and see a clinician
Some problems cannot be self-managed, and recognizing them early prevents a minor setback from becoming a major one.
Refer yourself to a physical therapist or physician if:
- Swelling persists more than 72 hours after a session
- You cannot walk pain-free for 30 minutes even after two weeks of the program
- Strength or balance on the injured side is noticeably declining
- The joint gives way repeatedly during walking or low-level activity
- Pain is increasing session to session rather than staying flat or improving
Seek imaging or orthopedic review for:
- Suspected bone stress injury (localized bone tenderness, pain that worsens with impact and does not resolve with rest)
- Persistent instability after completing the first two to three levels
- Post-surgical return where the surgeon has not yet cleared running
When you contact a clinician, bring your symptom log and note which level you reached. That information cuts the assessment time significantly and gives the clinician objective data rather than a general complaint.
How Bodiesbymahmood runs a supervised return-to-run pathway
At Bodiesbymahmood in Orlando, the return-to-run pathway follows a structured sequence: readiness assessment, leveled run–walk progression, concurrent strength and tendon loading, and clinician reassessment at key milestones. The facility’s trainers carry over 25 years of combined experience from college and professional sports backgrounds, which means the progressions are calibrated to real athletic tissue tolerance, not generic timelines.
What a supervised program at Bodiesbymahmood includes: an initial movement and hop assessment, an individualized level assignment based on your current capacity, in-person load monitoring during run sessions, and a paired strength program adjusted as you progress. The services overview covers the full range of sports rehab and training options available.
What your footwear and orthotics should do during recovery
Footwear is not a minor detail during a post-injury running return. The wrong shoe amplifies ground reaction forces at exactly the moment your tissues are least equipped to handle them.
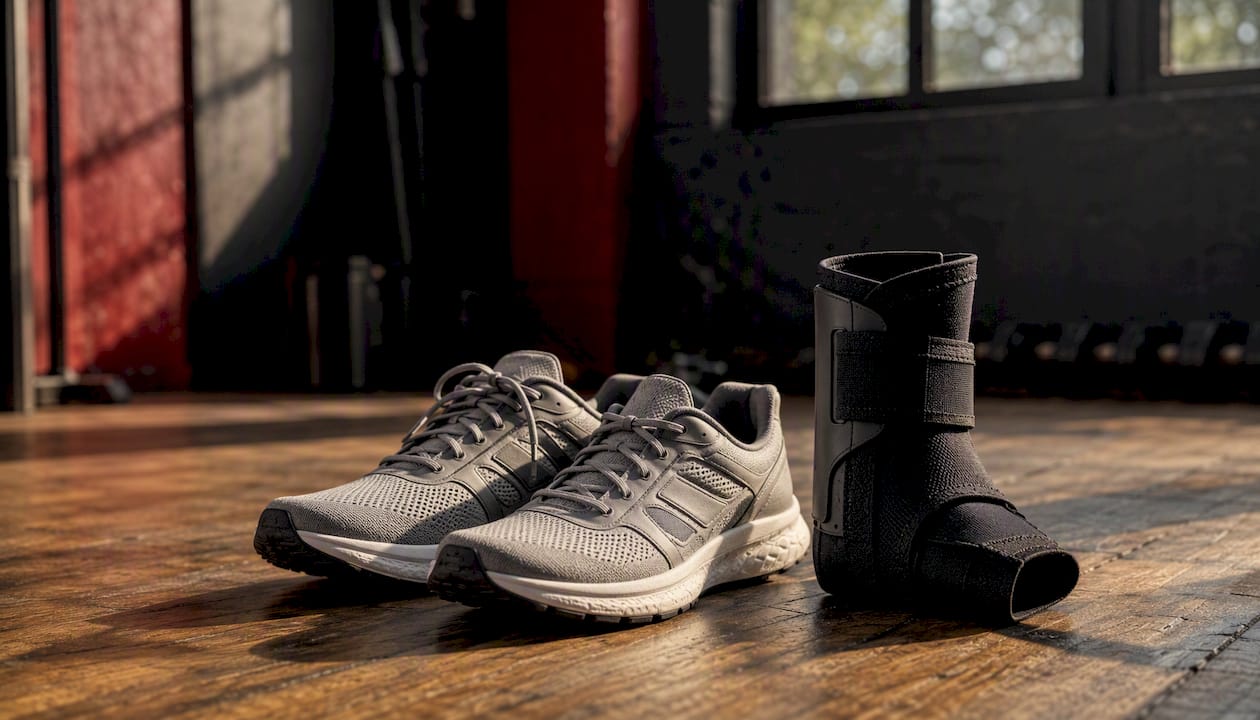
Start with a neutral or stability shoe that matches your foot type, with adequate cushioning for the early run–walk levels where impact tolerance is still limited. Avoid maximalist stack heights if you are returning after an ankle sprain; the instability of a very high stack can increase lateral ankle stress.
On orthotics: The AFP ankle sprain guide notes that external ankle support can reduce re-injury risk during high-risk activities. A semi-rigid ankle brace or lace-up support is a reasonable choice through the first four to five levels of a return-to-run protocol, particularly for lateral ankle sprains. Custom orthotics are worth considering if you have a structural foot issue (significant overpronation, leg length discrepancy) that contributed to the original injury, but they are not a substitute for strength work.
Replace running shoes every 300–500 miles. During a return-to-run program, mileage accumulates slowly, so a worn-out shoe from before the injury may still be in rotation. Check the midsole compression by pressing a thumb into the heel; if it compresses easily with little resistance, the cushioning is spent.
Returning to running is a skill, not just a fitness goal
The runners who come back strongest are not the ones who pushed hardest. They are the ones who treated the return as a skill to practice, not a deficit to overcome as fast as possible.
Reframe success as consistent, pain-free sessions rather than pace or distance. A 2-minute run interval completed cleanly is a better outcome than a 10-minute run that leaves you limping the next day. Micro-goals work better here than big targets: complete Level 3 twice without soreness, nail the single-leg hop symmetry test, add one more calf raise rep per set. Those small wins compound.
The biggest psychological trap is ego-driven progression, where a good day convinces you to skip two levels at once. Objective tests, not how you feel in the moment, should drive every advancement decision. If the symptom log shows two consecutive pain-free sessions at a level, you advance. If it does not, you do not. That rule removes the guesswork and the temptation.
Accountability helps. A training partner, a coach, or a structured program with check-ins makes it significantly harder to rationalize skipping the strength work or rushing the levels. The injury prevention habits that keep athletes out of the re-injury loop are mostly behavioral, not physical.
Bodiesbymahmood offers supervised return-to-run support in Orlando
Recovering from a running injury on your own is possible. Recovering faster, with fewer setbacks, and with someone monitoring your load in real time is a different experience.

Bodiesbymahmood’s personal training and sports rehab services give you a supervised pathway from initial assessment through full return to training. Your first session includes a movement screen, a hop and balance assessment, and a level assignment so you start at exactly the right point, not too easy and not too aggressive. Strength programming is built in from day one, and your progression is adjusted based on your symptom log and in-session performance. Bring your current training details and any notes on your injury history. To get started, visit the personal training page and book your assessment.
Sources
The protocols and clinical references that shaped the recommendations in this article:
- Basic return to running guideline — OSU Wexner Medical Center
- Return to Run Program — Allina Health Orthopedics
- Mass General return to running program — MGH
- Recovering from an ankle sprain — American Family Physician (AFP)
- Return to Run Program — Texas Children’s Hospital